Recent Posts
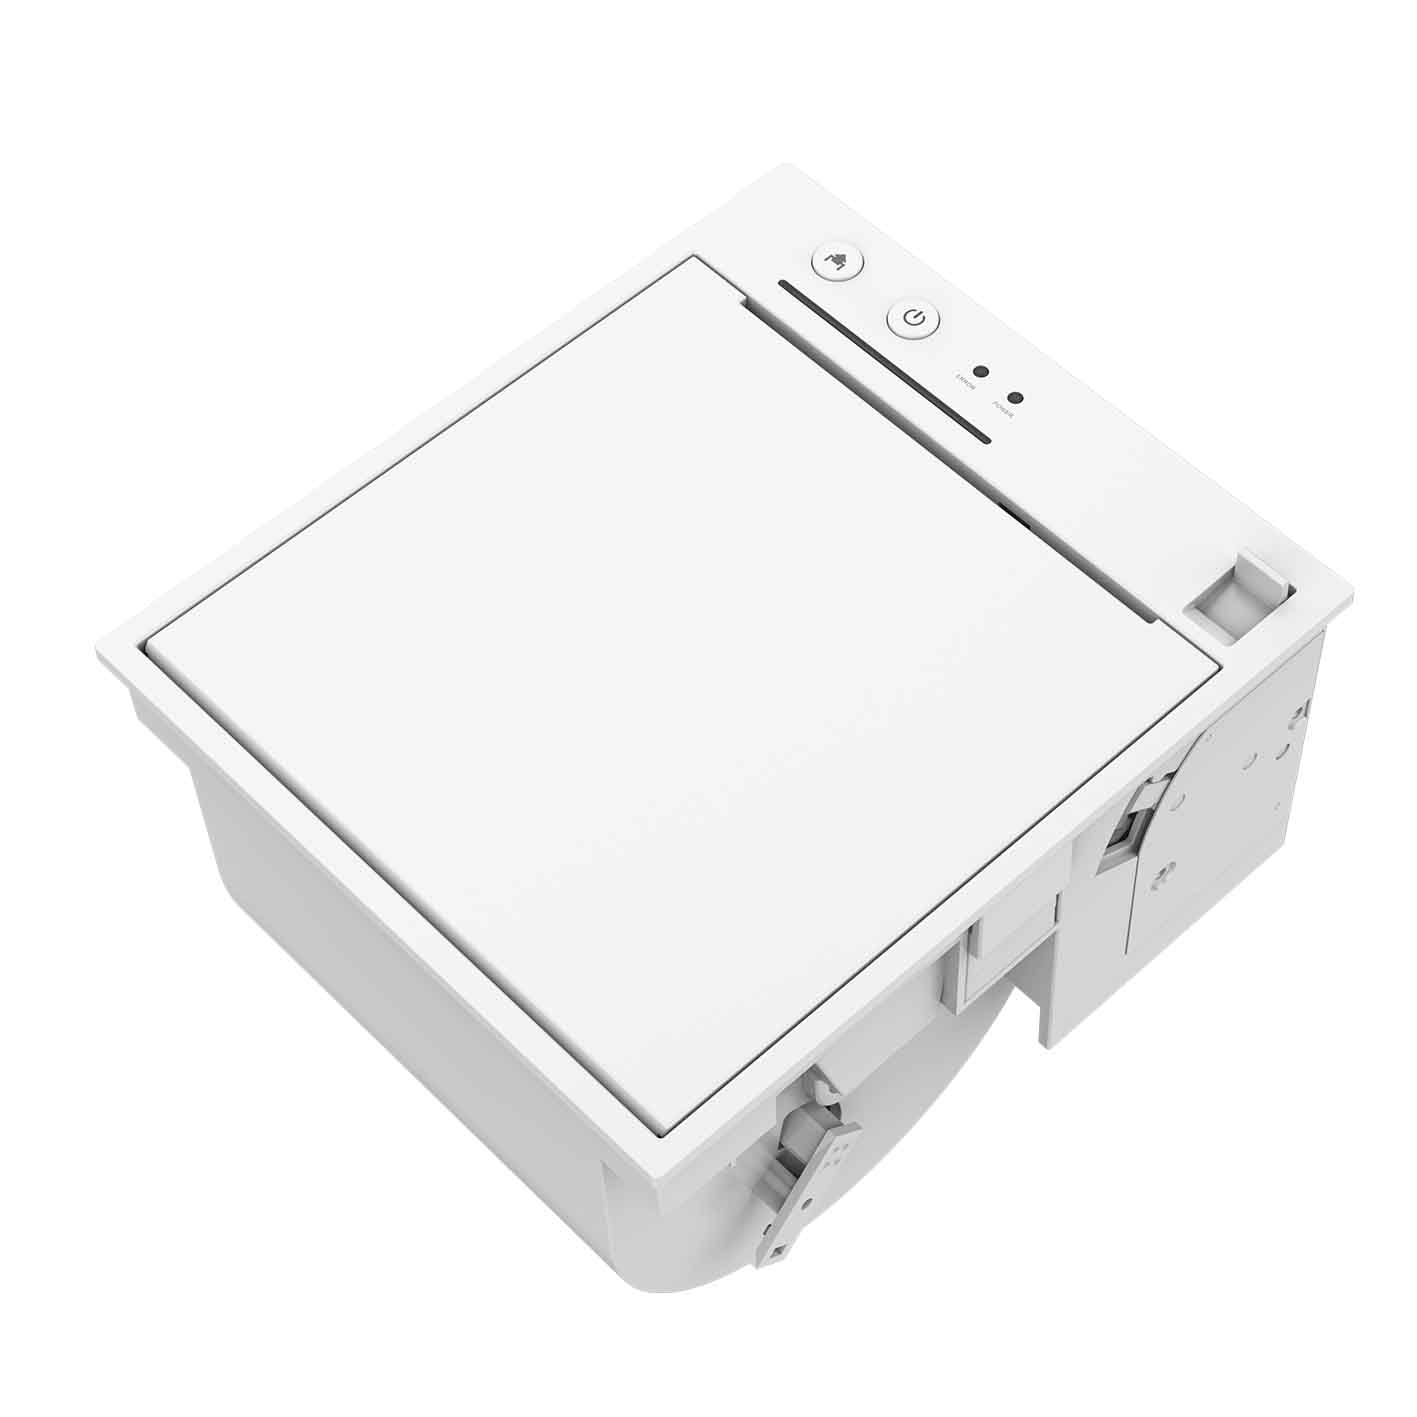
Installation And Operation of 76mm Impact Printer
1、76mm Impact Printer connection method
The printer and the PC should be closed and communication cable is inserted in the printer connection port. The other side of communication cable (serial cable is 9-pin connector and parallel cable is 25 -pin connector) is inserted in the host PC's serial / parallel / USB /Ethernet.
(2) If cash drawer can be open electrically, put the RJ-11 connector in the printer’s cash drawer interface (cash drawer specification must comply with the printer cash drawer driver specification).
(3) Printer Adapter Connection.
Please use the supplied adapter. The connection diagram is as below:

Note:
(1)Firstly, connect printer's power plug DC24V, and then AC220V power, and then turn on the power switch. Don’t opposite the order; otherwise it will damage the printer.
(2) If using improper adapter may affect the printing quality or damage the printer.
(3) Do not connect a telephone line to the cash drawer interface, otherwise the printer and the phone may be damaged.
(4) When Pull or plug power cord, please hold at the hard cord part, which is marked with arrow (don’t pull the power cord holding at the soft part of the cord). Forced to pull printer power cord with cord soft part may cause printer or adapter damage.
2、Paper roll installation of 76mm impact printer
76 printers use high quality 76.0 mm 1 associated ordinary continuous paper or 2-3 associated self - copy paper with convenient automatic paper loading
Detailed operation instruction:
When paper sensor detects no paper, the error (ERROR) indicator, checking paper (PAPER) indicator keep light, buzzer beeps three times per1 second, waiting for paper loading. When loading paper, the paper sensor detected paper; the error (ERROR) indicator and checking paper (PAPER) indicator are all off and start the paper feeding motor and automatic paper feeding.
After feeding paper, the error (ERROR) indicator blinks. Now, press feed (FEED) button to feed paper. The error (ERROR) indicator, checking paper (PAPER) indicator are all off and the buzzer stop beeping. The printer is in ready status.
Note:
When loading paper (Do not use the paper, which is sticking to the roll core. Otherwise the printer can not detect the end of paper correctly, and may damage printer), the paper end should be neat and hold both sides of the paper insert paper straightly into the bin. The printer will automatically feed; when the paper feed motor is running. When it occur the paper jam or the paper end jams on paper exit, pull out the paper from back after the feed motor stop. Cut the folding paper and reload the paper.
Requirements on insert roll and direction shown below:

If the roll is not used up, the user wants to remove the roll. Please follow below steps to remove roll. Do not pull out the roll from printer feeding paper area.
The operation method is as follows:
(1) Open the printer cover
(2) Pull up the feed paper, cutting the pulled paper
(3) Remove the roll from the printer.
(4) Remove the remaining paper by printing feed button (not to pull out the left paper from the opposite direction of the feed paper).
3、Ribbon installation
Be sure to use the original ribbon, not use no-name or low-quality ribbon, otherwise will shorten the life of the print head. When replacing the ribbon, make sure the printer is not receiving printing data; otherwise, the data will be lost.
Installation ribbon method is as follows:
(1) Open the printer cover.
(2) Follow the arrow on the ribbon to screw the ribbon cartridge to tighten the loose part of the ribbon
(3) Insert the ribbon to the print head, and to push the ribbon cartridge until it is tight.
(4) Follow the arrow instruction on the ribbon to screw the ribbon cartridge 5-6 cycles and to tighten the loose part of the ribbon.
 Sign Up For Newsletter
Wants To Get Latest Updates! Sign Up For Free.


 No. 88 Tonghui South Road,Tong'an District, Xiamen, China, 361113
 Tel:+86 18950199296
 +86 0592-5659169
Copyright © 2026 Rongta Technology (Xiamen) Group Co.,Ltd..All Rights Reserved. 闽ICP备14000025号-1


 English
 français
 Deutsch
 русский
 español
 português
 العربية
 中文
中文