Recent Posts
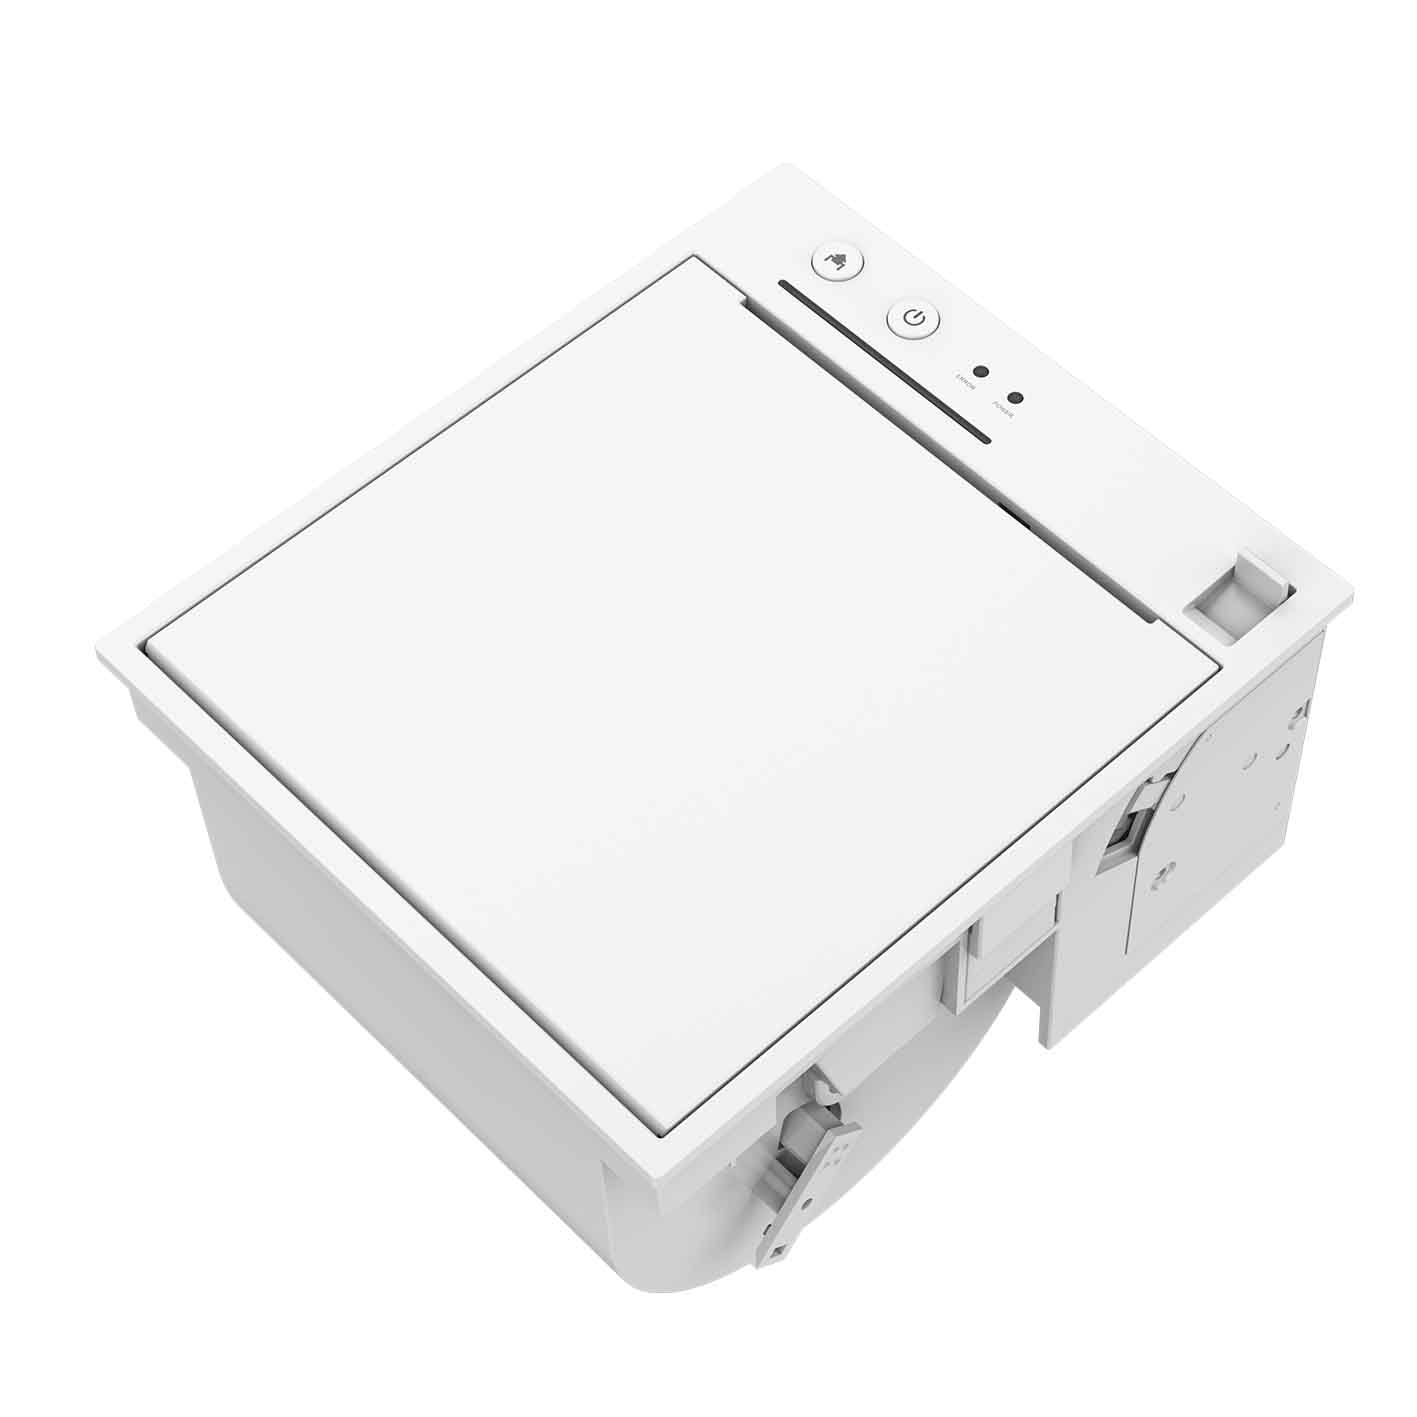
Black Mark Setting Instruction of 3inch Receipt Printer Thermal
Black Mark Setting Instruction of 3inch Receipt Printer Thermal

1. "Enable Black Mark" is used to enable the black mark function. The printer will beep once if it is enabled successfully;
2. After enabling black mark, turn off the printer and then turn it on again. You must restart the printer before setting the black mark parameters.
3. Enter the length of the black-marked paper, that is, the length of paper between the two black marks. The setting value should be greater than the actual length of the black-marked paper. For example, if the length of the black-marked paper is 200mm, the setting value can be 400mm. After inputting, click "Set". If the setting is successful, the printer will beep once.
4. If you input 10mm for "print start position", the printer will start printing from the position 10mm after the black mark. After inputting, click "Set". If the setting is successful, the printer will beep once.
5. The set width of the black mark should be greater than the actual value. If the actual width of the black mark is 10mm, the setting value can be 20mm. After inputting, click "Set". If the setting is successful, the printer will not beep.
6. If you input 10mm for "paper-cutting position", the printer will cut paper at the position 10mm after the black mark. After inputting, click "Set". If the setting is successful, the printer will beep once
 Sign Up For Newsletter
Wants To Get Latest Updates! Sign Up For Free.


 No. 88 Tonghui South Road,Tong'an District, Xiamen, China, 361113
 Tel:+86 18950199296
 +86 0592-5659169
Copyright © 2026 Rongta Technology (Xiamen) Group Co.,Ltd..All Rights Reserved. 闽ICP备14000025号-1


 English
 français
 Deutsch
 русский
 español
 português
 العربية
 中文
中文