Recent Posts
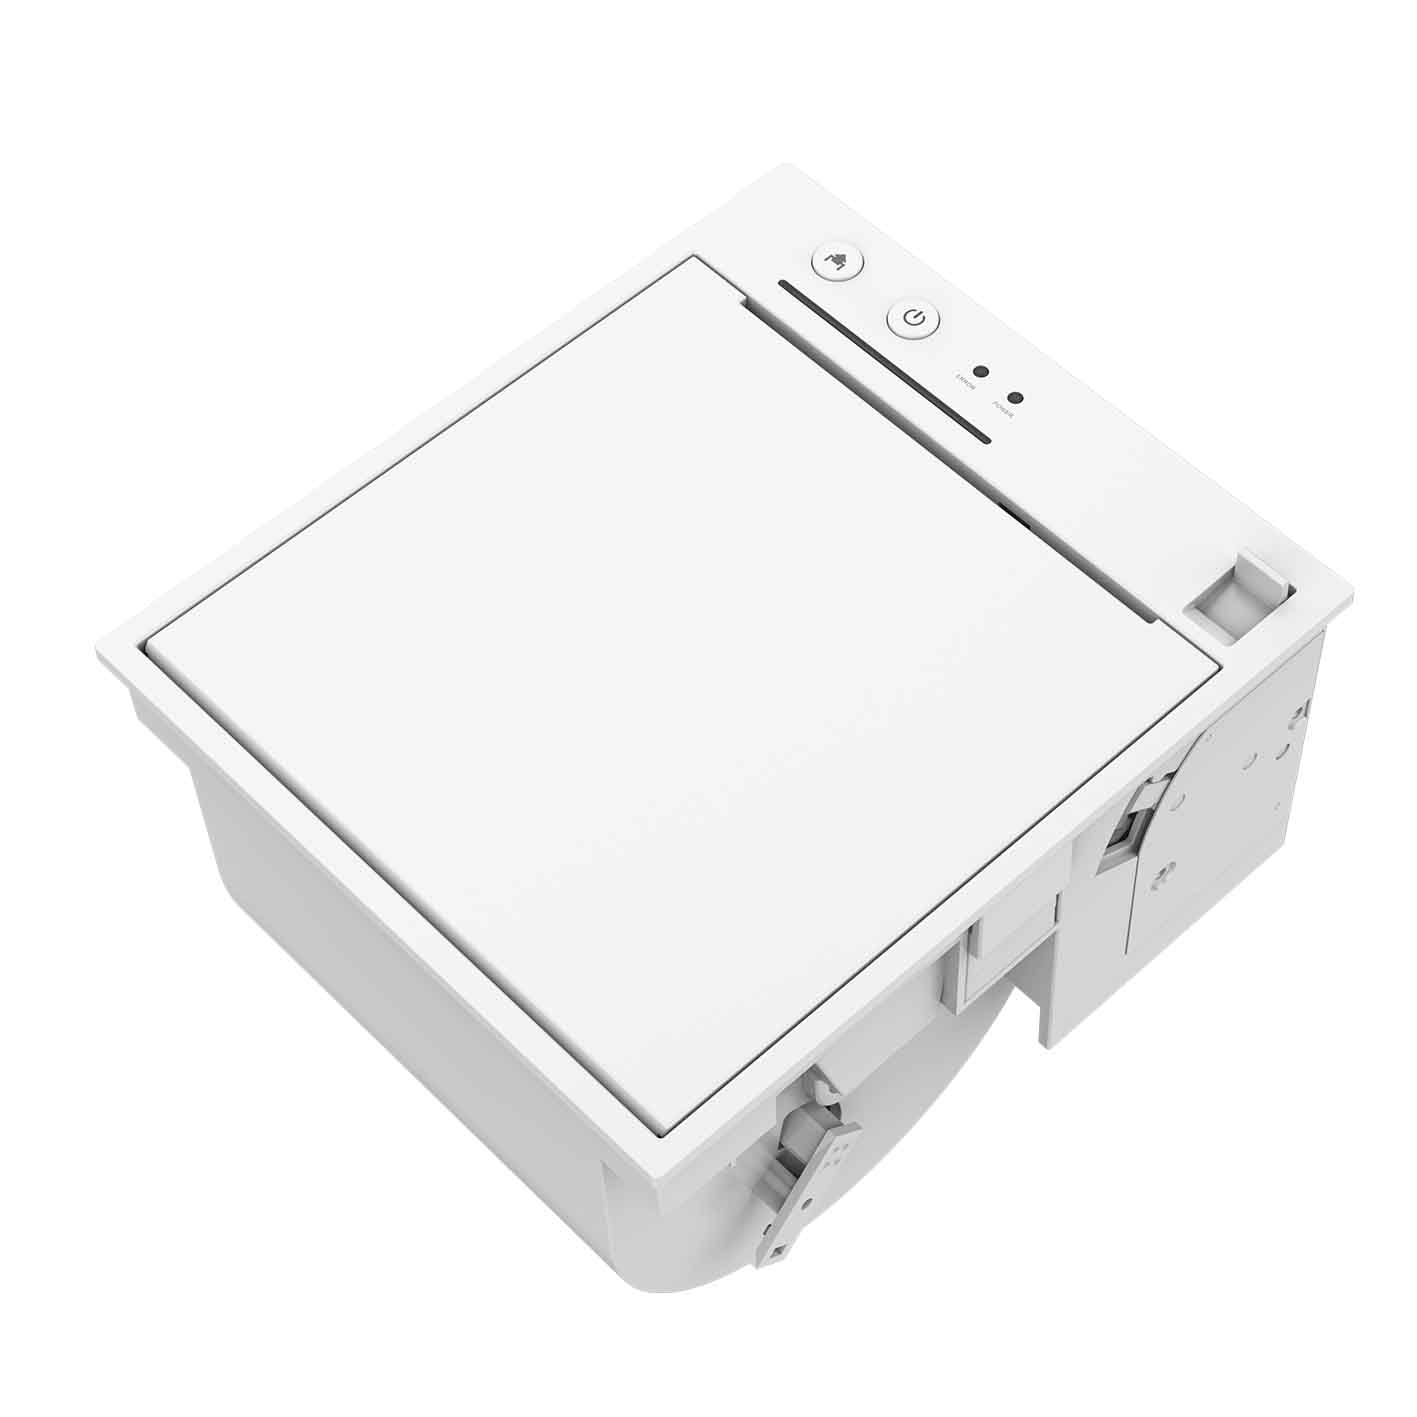
Installation And Operation of 58mm Receipt Printer
Installation And Operation of 58mm Receipt Printer.
1、Contents in the package
Parts:
Please check the parts when opening the box, if there is something missed, please contact with the supplier or the manufacturer.

2、Printer connection
(1) To ensure the printer and PC is powered off and then insert the matched data connection lines to the interfaces (USB/Parallel/Serial) of the printer, the other ends are to the PC.
(2) If the user fit out the electric opened cash drawer for the printer that could insert the RJ-11 connection line of it to the corresponding interface of the printer. (PS: The specification of cash drawer should be accorded with the driver requirement of printer).
(3) Power adapter
Please only use the supplied power adapter. Such as the following picture:

Notice:
(1) Firstly, insert the power supply plug DC12V of printer; then connect the AC220V power; lastly, turn on the switch. Please operate it by the instruction steps; otherwise, it would damage the printer.
(2) Use unsuitable power adapter would cause the bad print result; even though may cause the breakdown of printer.
(3) Do not connect the telephone line to the interface of cash drawer; because it may result the damage for printer and telephone.
(4) Do not pull the power soft wire when unplugging, if the user does it by force may result the breakdown of the printer and power adapter.
3、Load the paper roll
Model: 58 printer use 58mm width thermal paper, which with easy paper loading.The loading instruction is listed at below:
(1) Open the top cover of printer.
(2) Loading the paper roll as following picture. (Left is correct; right is wrong).

(3) Pull a part of paper out of the paper trough and then close the top cover.
(4) Use the cutter of printer to tear off the extra paper.
4、Power Switch, Keystroke and Indicator Light
(1) Power switch
Switch is for turning on/off the power supply of printer which is located right ahead of it. When pressing “-” is turn on the printer and pressing “O” is turn off.
Notice:Do not turn on the switch unless the user connects the power supply.
(2) Keystroke and indicator light
Keystroke and indicator board is listed as below:

Function Description of Keystroke and Indicator Light:
FEED Key:![]()
![]()
In the standby status, the printer would be continuous feed when pressing the feed key. Of course, the key is inefficacy when the printer is working.
Press the feed key and switch on the power supply while the key is still under pressing, then the user could do the self-checking of printer.
POWER LIGHT(Green):
Light appears when connected to the power supply.
ERROR LIGHT(Red):
Light appears under following condition:
Such as: paperless, paper jam, print head overheat, print head error or other situations.
PAPER LIGHT(Red):
Light appears when paperless.
Related products: 80mm thermal receipt printer, 76mm thermal receipt printer
 Sign Up For Newsletter
Wants To Get Latest Updates! Sign Up For Free.


 No. 88 Tonghui South Road,Tong'an District, Xiamen, China, 361113
 Tel:+86 18950199296
 +86 0592-5659169
Copyright © 2025 Rongta Technology (Xiamen) Group Co.,Ltd..All Rights Reserved. 闽ICP备14000025号-1


 English
 français
 Deutsch
 русский
 español
 português
 العربية
 中文
中文