Recent Posts
Serial Port Setting and Test Page Printing of 80mm Thermal Printer
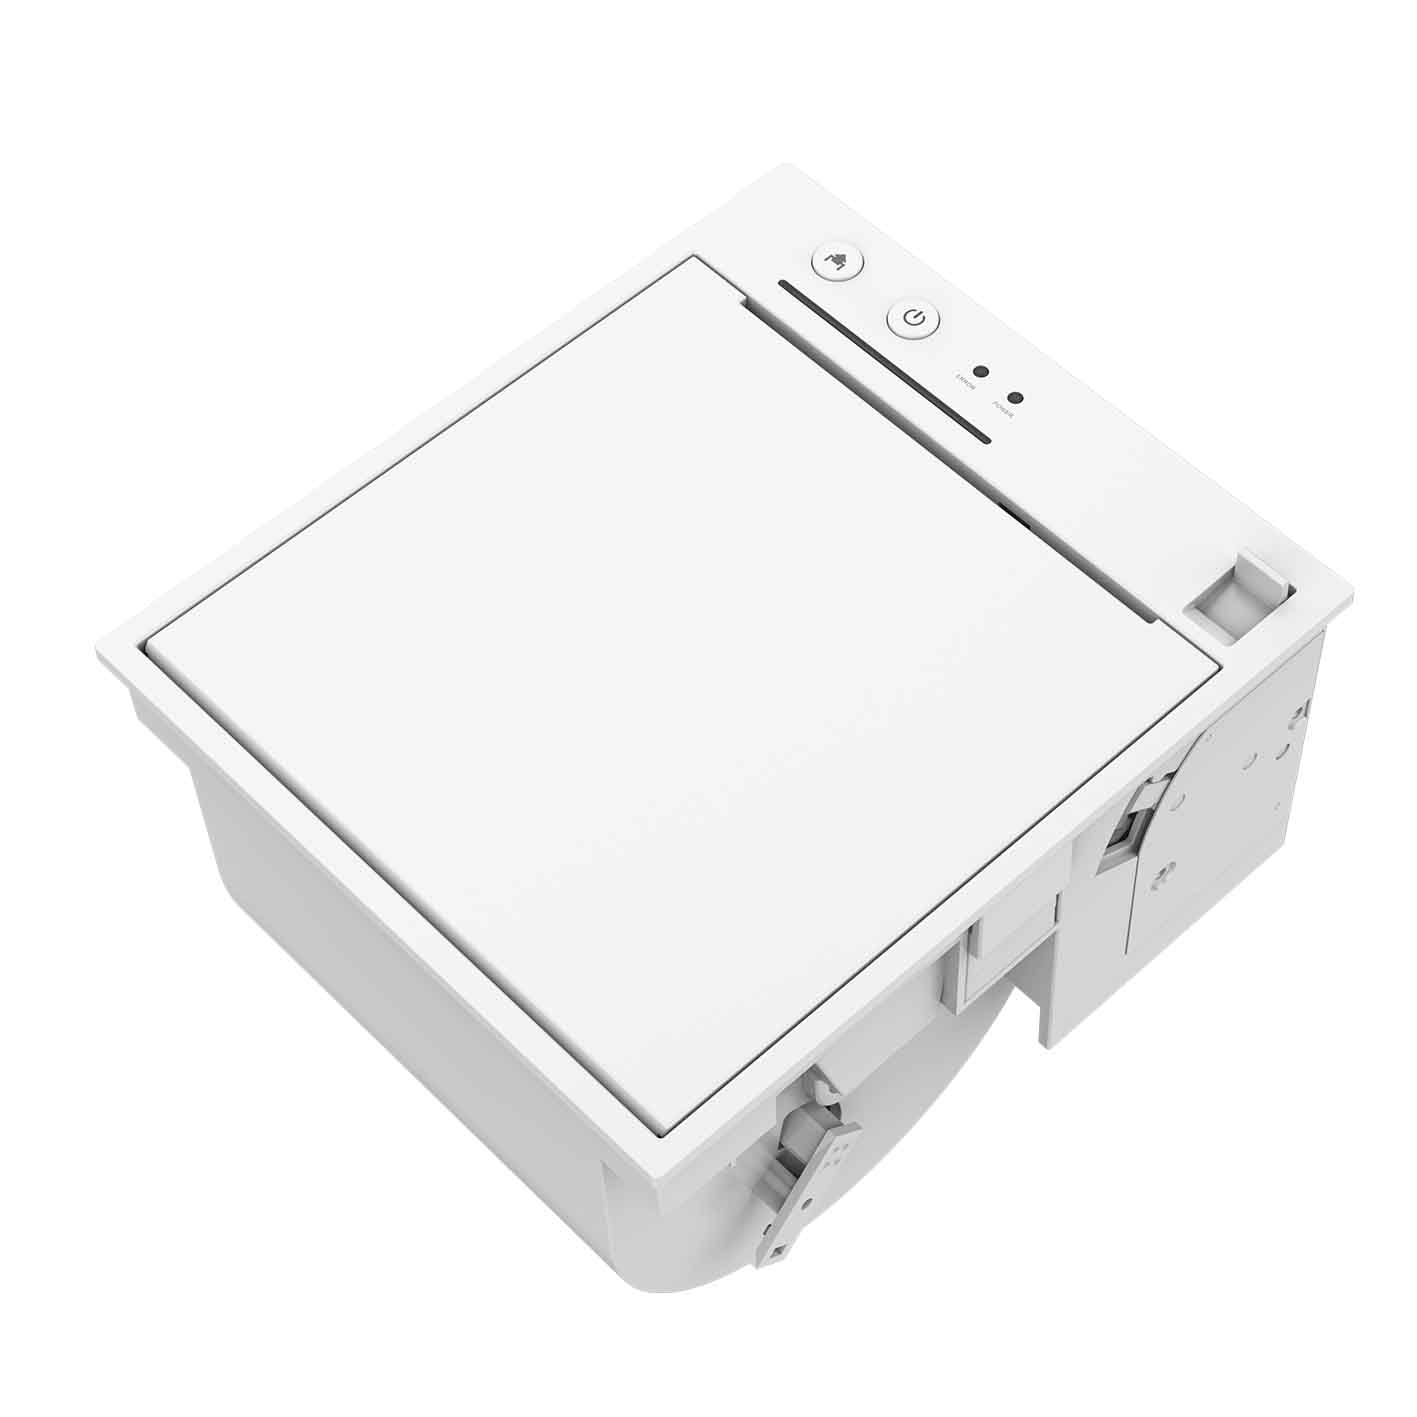
Serial Port Setting and Test Page Printing of 80mm Thermal Printer (Model: RP325/RP326/RP327/RP328)
1. Set Printer Properties
After installing the printer driver, view “Start”-> “Control Panel”-“Printer and Fax”-> “Printer Properties” of 80mm Series Printer. The "Printer Properties" window will pop up, as shown in the figure below:

2. Print Test Page via Serial Port
Select “Port” as shown in the figure above. As shown in the figure below:

Select the corresponding serial port (take COM1 as an example), select COM1, and then select the configuration port. The following dialog box appears: Set the value of bits per second to be the same as the printer baud rate. If the baud rate is 19200, then set the value of bits per second in the serial port properties selected for printing as 19200.

After settings are completed, click “OK” to save the settings. Back to the "Printer Properties" window, select “Apply”, as shown in the figure below:

After the serial port configuration is completed, select “General”, as shown in the figure below:

Select “Print Test Page”. If the test page can be successfully printed, it means the printer has been connected to the PC and configured correctly, and the printer port can be used normally.
 Sign Up For Newsletter
Wants To Get Latest Updates! Sign Up For Free.


 No. 88 Tonghui South Road,Tong'an District, Xiamen, China, 361113
 Tel:+86 18950199296
 +86 0592-5659169
Copyright © 2026 Rongta Technology (Xiamen) Group Co.,Ltd..All Rights Reserved. 闽ICP备14000025号-1


 English
 français
 Deutsch
 русский
 español
 português
 العربية
 中文
中文